While doing a random product shoot with my iPhone, I have discovered the art of capturing stunning beauty product photographs using my trusty smartphone. I’ll share my step-by-step process and valuable tips to help you achieve professional-looking beauty product photography with your iPhone. Get ready to unlock the potential of your device and create captivating visuals that showcase the essence of beauty. Earlier i shared how to do newborn photography and boudoir photography on this blog.
Table of Contents
Setting the Stage for Beauty Product Photography:
Preparing Your Workspace Before diving into the world of beauty product photography, it’s crucial to create a suitable environment that highlights the products’ allure.
Gather Your Tools:
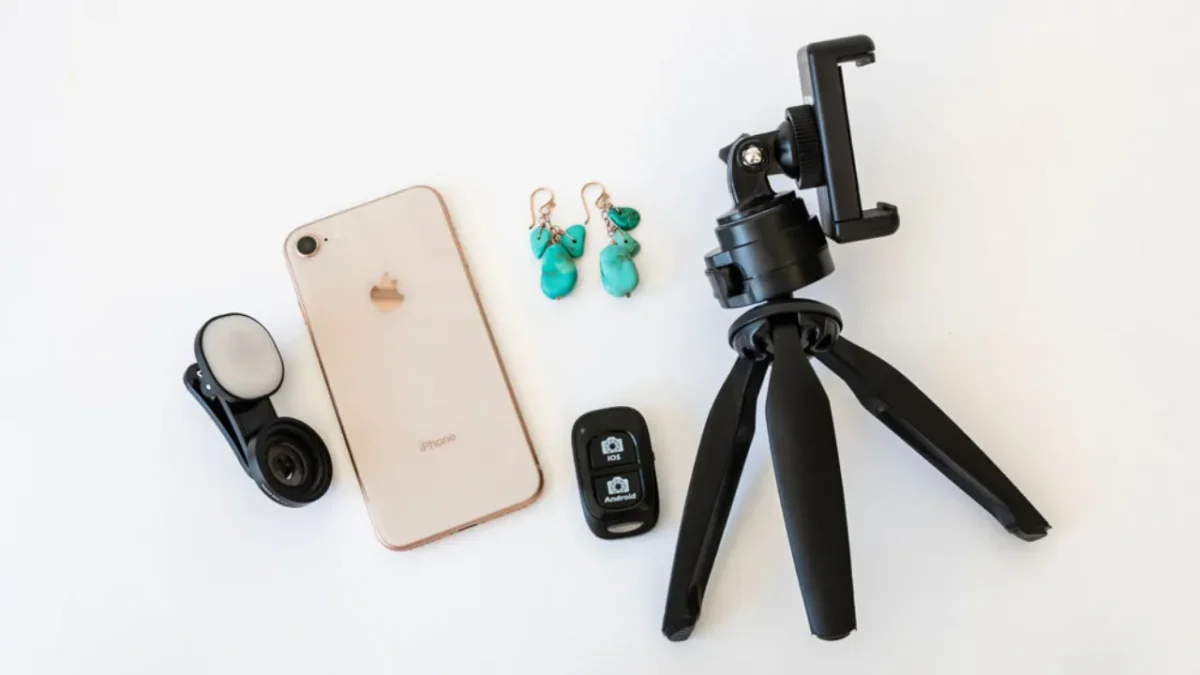
Collect all the necessary tools, including a clean surface or backdrop, natural or artificial lighting, reflectors, remote shutter, mini tripod and any props or accessories that complement the products.
Clean and Organize:
Ensure your beauty products are spotless and neatly arranged, removing any dust, fingerprints, or debris from the packaging.
Mastering Lighting Techniques:
Illuminating Your Subject Proper lighting is essential for capturing the intricate details and enhancing the beauty of your products.
Natural Light:
Take advantage of natural light by shooting near a window or in a well-lit area. Diffuse harsh sunlight using sheer curtains or a light tent to achieve soft, even lighting.
Artificial Light:
Experiment with artificial lighting options such as ring lights, LED panels, or lightboxes. Adjust the intensity and position of the lights to create the desired mood and eliminate shadows.
Composition and Styling:
Arranging the Elements Composition and styling play a crucial role in creating visually appealing beauty product photographs.
Rule of Thirds:
Apply the rule of thirds by placing your subject off-center for a more balanced and engaging composition. Use gridlines on your iPhone camera to align the key elements.
Background and Props:
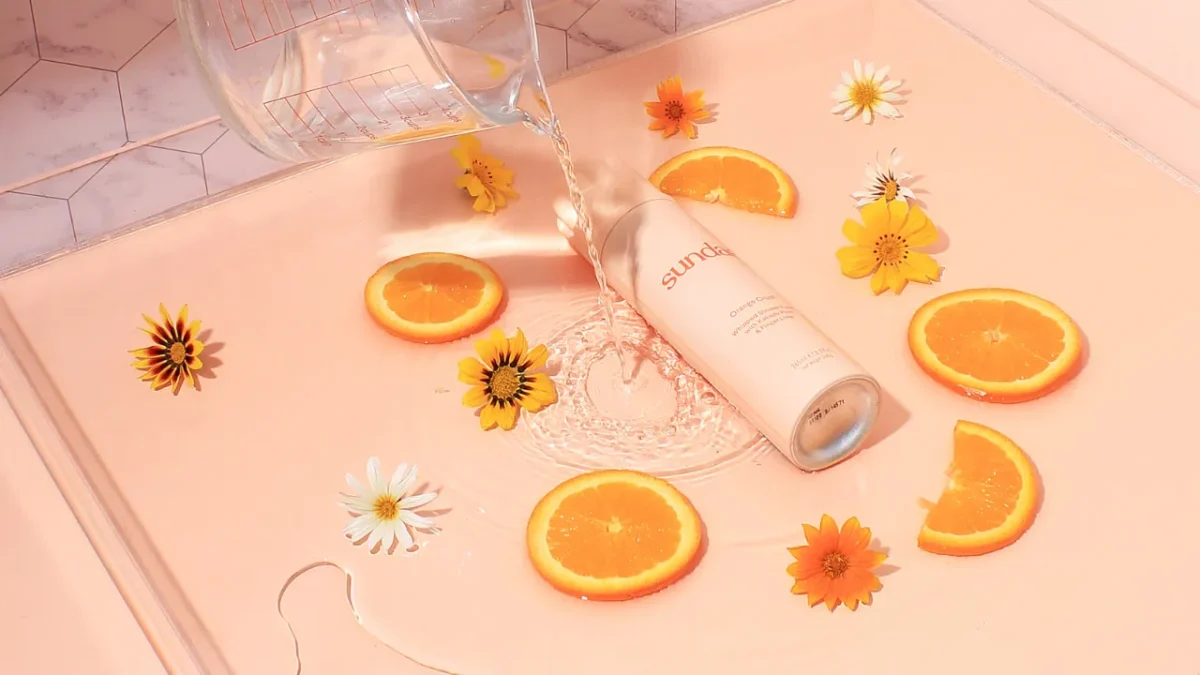
Choose a backdrop that complements your products, such as a plain white surface for a clean and minimalistic look or textured backgrounds for added depth. Incorporate relevant props that enhance the overall aesthetic and story of the image.
Mastering iPhone Photography Settings:
Maximizing Quality Unlock the full potential of your iPhone’s camera by adjusting essential settings to capture high-quality beauty product photographs.
Focus and Exposure:
Tap on the main subject on the screen to ensure proper focus. Adjust the exposure by sliding your finger up or down to control the brightness levels.
HDR and Live Photos:
Enable HDR (High Dynamic Range) mode to capture a wider range of tones and details. Experiment with Live Photos to create dynamic shots and capture moments between poses.
Post-Processing and Editing:
Enhancing the Final Results After capturing your beauty product photographs, unleash your creativity through post-processing and editing techniques.
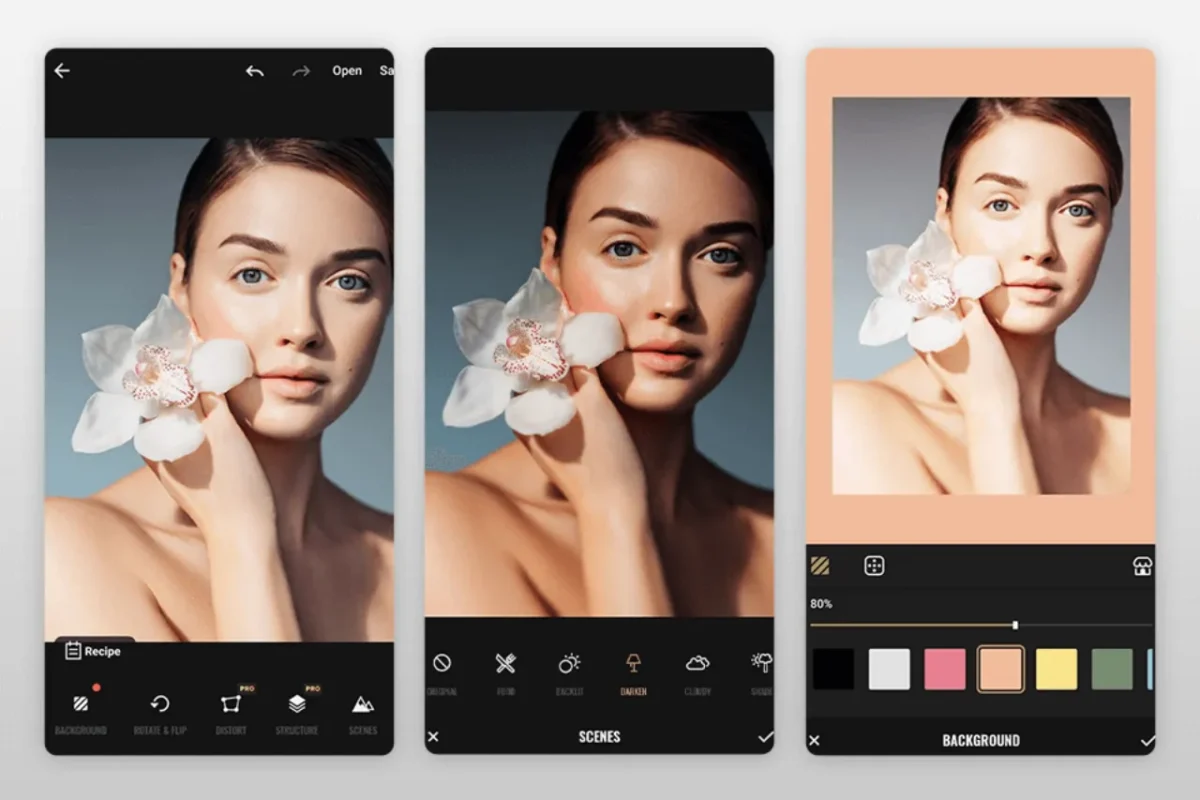
Photo Editing Apps:
Utilize popular photo editing apps such as Snapseed, VSCO, or Adobe Lightroom Mobile to fine-tune colors, adjust exposure, and apply filters that align with your desired aesthetic.
Retouching and Refining:
Remove minor imperfections, blemishes, or distractions using tools like the Healing Brush or Clone Stamp. Enhance sharpness and details selectively to make the products stand out.
Conclusion:
With your iPhone in hand and armed with the knowledge and techniques shared in this guide, you now have the power to create stunning beauty product photographs that capture attention and showcase the essence of beauty. Embrace your creativity, experiment with different styles, and watch as your skills in beauty product photography flourish, all with the convenience of your trusty iPhone. Get ready to elevate your photography game and captivate your audience with captivating visuals that bring beauty to life.
FAQs:
What are some essential tools for beauty product photography with an iPhone?
Gather tools such as a clean surface or backdrop, lighting options, reflectors, and props.
How can I achieve optimal lighting for beauty product photography?
Utilize natural light near a window or create even lighting with artificial lights, adjusting their intensity and position as needed.
What are some post-processing tips for enhancing beauty product photographs taken with an iPhone?
Use photo editing apps like Snapseed or Adobe Lightroom Mobile to fine-tune colors, adjust exposure, and selectively enhance details.

