Trying speed ramp premiere pro is fantastic that allows you to add dynamic motion to your videos, creating smooth transitions between fast and slow motion. Mastering this technique can elevate your video editing skills, adding a professional touch to your projects.
How to Do Speed Ramp Premiere Pro
| Process Step | Brief Description |
|---|---|
| Import Footage & Create Sequence | Import video and create a new sequence in Premiere Pro. |
| Identify Speed Ramp Segment | Determine the specific section where you want to apply the speed ramp effect. |
| Add Keyframes for Time Remapping | Right-click clip, select “Show Clip Keyframes” > “Time Remapping” > “Speed,” and add keyframes at start and end. |
| Adjust Speed Percentages | Modify speed percentages between keyframes for desired effect, creating a smooth transition. |
| Apply Ease In and Ease Out | Right-click keyframes, choose “Temporal Interpolation” > “Ease In” or “Ease Out” for smoother speed changes. |
| Utilize Bezier Handles (Optional) | Fine-tune acceleration and deceleration with Bezier handles for customized speed ramp curves. |
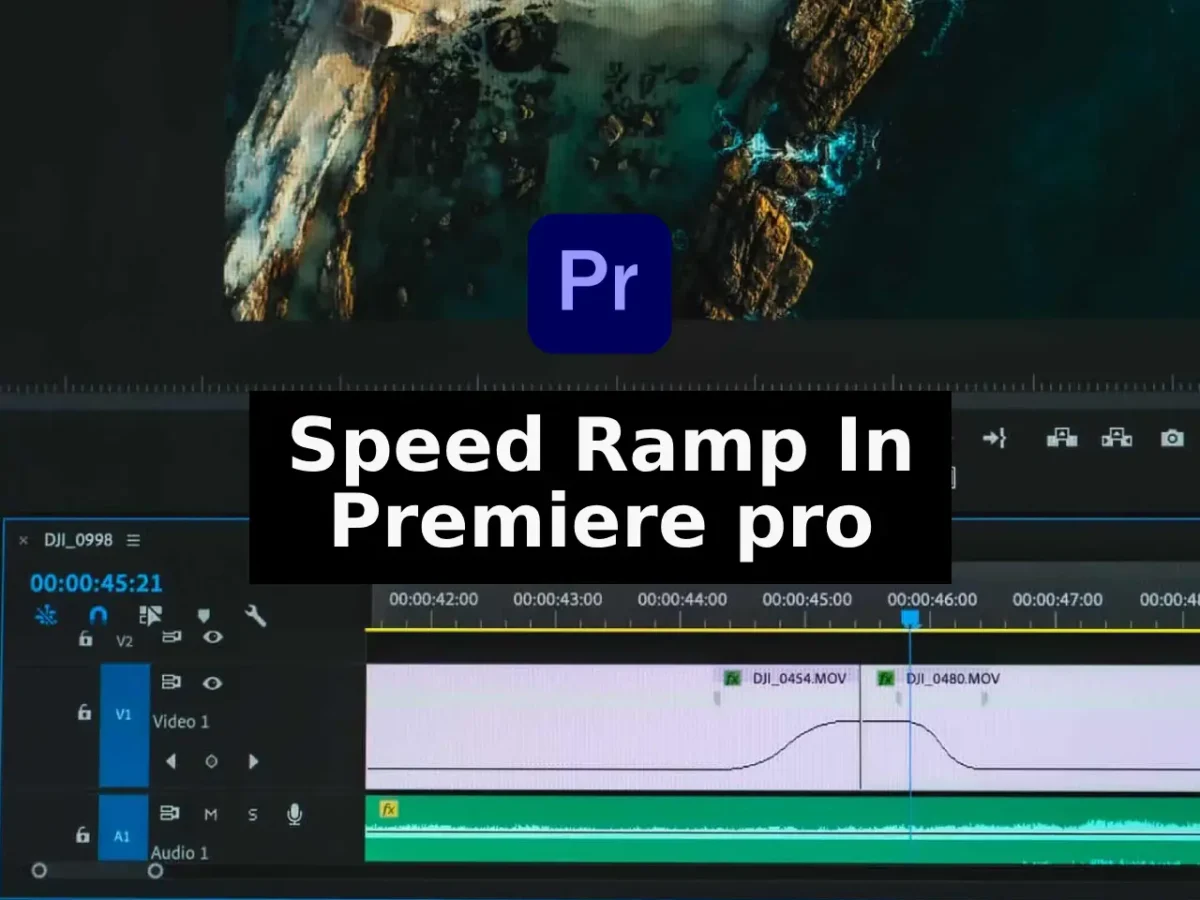
To start a speed ramp, first, import your footage and create a new sequence in Premiere Pro. Place your clip on the timeline and identify the specific section where you want to apply the speed ramp. Once you’ve pinpointed the segment, right-click on the clip and select “Show Clip Keyframes” > “Time Remapping” > “Speed.” This action reveals keyframes on the clip, enabling you to adjust the speed.
Next, add keyframes at the beginning and end of the segment you want to speed ramp. These keyframes serve as anchor points, indicating the speed of the clip at those specific moments. For instance, if you want a slow-motion effect at the beginning and end of the segment but normal speed in the middle, place keyframes accordingly.
After placing the keyframes, adjust the speed percentage between them to create the desired effect. For a smooth transition, ensure that the speed percentages gradually change, creating a natural flow. You can experiment with different speed values to achieve the effect you envision.
For a more cinematic touch, you can add ease in and ease out to your keyframes. Right-click on a keyframe and select “Temporal Interpolation” > “Ease In” or “Ease Out.” This softens the speed change, resulting in a more polished and professional look.
Additionally, Premiere Pro offers the Bezier handles option, allowing you to create custom curves for your speed ramps. By adjusting these handles, you can fine-tune the acceleration and deceleration, adding a nuanced touch to your video.
Stay connected to get updates on various latest news and free resources,
Remember, practice makes us perfect. You should experiment with different clips and scenarios to grasp the nuances of speed ramps fully. With dedication and creativity, you’ll soon find yourself seamlessly incorporating speed ramps into your projects, enhancing the visual appeal and storytelling of your videos.