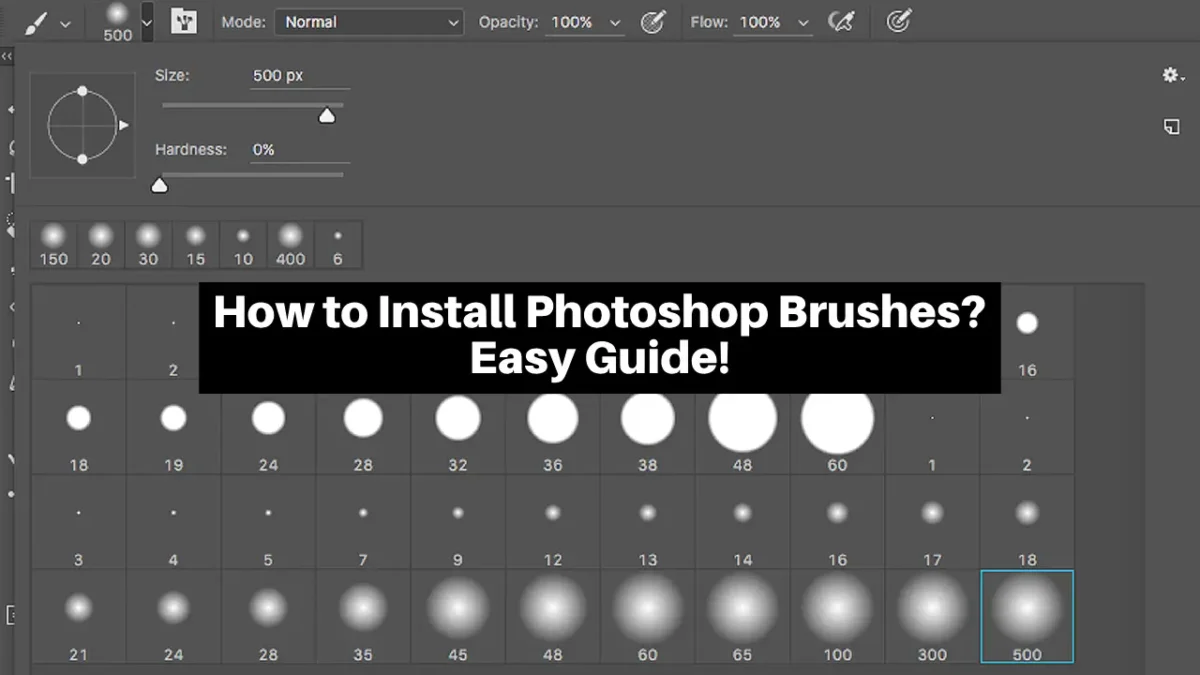
If you’re eager to enhance your Photoshop experience with new brushes and you don’t know how to install photoshop brushes, you’re in luck! Installing Photoshop brushes is a breeze and takes just a couple of minutes. Here’s how to do it;
Table of Contents
Step 1: Open Photoshop
Launch your Photoshop software. Make sure it’s up and running smoothly.
Step 2: Navigate to ‘Edit – Presets – Preset Manager’
At the top of your screen, locate the ‘Edit’ menu. Click on it, and a dropdown menu will appear. Within this menu, you’ll find ‘Presets.’ Hover over ‘Presets’, and another submenu will open. Now, select ‘Preset Manager.’
Step 3: Choose ‘Brushes’
In the Preset Manager dialog box, you’ll see a list of different preset types. Find and click on ‘Brushes.’ This will ensure you’re working with brushes specifically.
Step 4: Click ‘Load’
With ‘Brushes’ selected, look for the ‘Load’ button. Clicking this button will initiate the process of adding new brushes to your Photoshop library.
Step 5: Double Click .ABR File
A window will pop up, prompting you to locate the .ABR file of the brushes you want to install. Find the file on your computer and double-click it. Photoshop will then load the brushes from the file, and you’re all set!
Photoshop Elements Vs Photoshop: Read Before Using Any!
Create Online Portfolio Site Which Brings Sales, Not Only Views!
Done:
Congratulations! You’ve successfully installed new brushes in Photoshop. Now, you can enjoy exploring and using these brushes to elevate your creative projects and design work. Happy editing!


